The Clear Audio Blueprint: How to Record Professional Sound in Unoptimized Rooms
This manual is designed as an operational SOP for Filmfreebies.com to help creators solve the most common "immersion killer" in video: poor audio quality. This guide provides a technical workflow to achieve studio-grade sound in environments that were never meant for recording.
In filmmaking and content creation, audio is 50% of the experience. Viewers will often tolerate "low-fi" video if the story is compelling, but they will immediately leave if the audio is echoey, noisy, or distorted. This manual teaches you how to master the "Signal-to-Noise Ratio" using physics, not just expensive gear.
Phase 1: Identifying the Enemy (The Unoptimized Room)
An "unoptimized room" usually suffers from two main issues: Ambient Noise and Acoustic Reflection.
1. Ambient Noise (The Floor)
This is the "hum" of the world. It includes AC units, computer fans, distant traffic, and refrigerator compressors.
- The Workflow: Before hitting record, turn off every appliance that makes noise.
- The "Hiss" Test: Record 10 seconds of "silence" in your room. If you see your audio meters jumping above -50dB while you are silent, you have an ambient noise problem.
2. Acoustic Reflection (The Echo)
Hard surfaces like windows, bare walls, and hardwood floors reflect sound waves, creating "reverb tails." This makes your voice sound "hollow" or like you are in a bathroom.
- The Physics: Sound waves behave like pool balls; they bounce off hard surfaces. Your goal is to "absorb" them before they hit the microphone again.
Phase 2: The "Blanket Fort" Acoustic Workflow
You do not need $1,000 acoustic foam to fix a room. You need density.
Step 1: Breaking Parallel Walls
- The Fix: Hang heavy moving blankets or thick duvets on stands or over doors.
- The Strategy: Focus on the wall behind the microphone and the wall behind your head. These are the primary reflection points.
Step 2: Managing the "Floor Bounce"
- The Fix: Place a thick rug or several yoga mats directly under the microphone stand.
Step 3: The "Cloud" Technique
- The Fix: If possible, drape a light fabric or blanket above the recording area to catch upward-traveling sound waves.
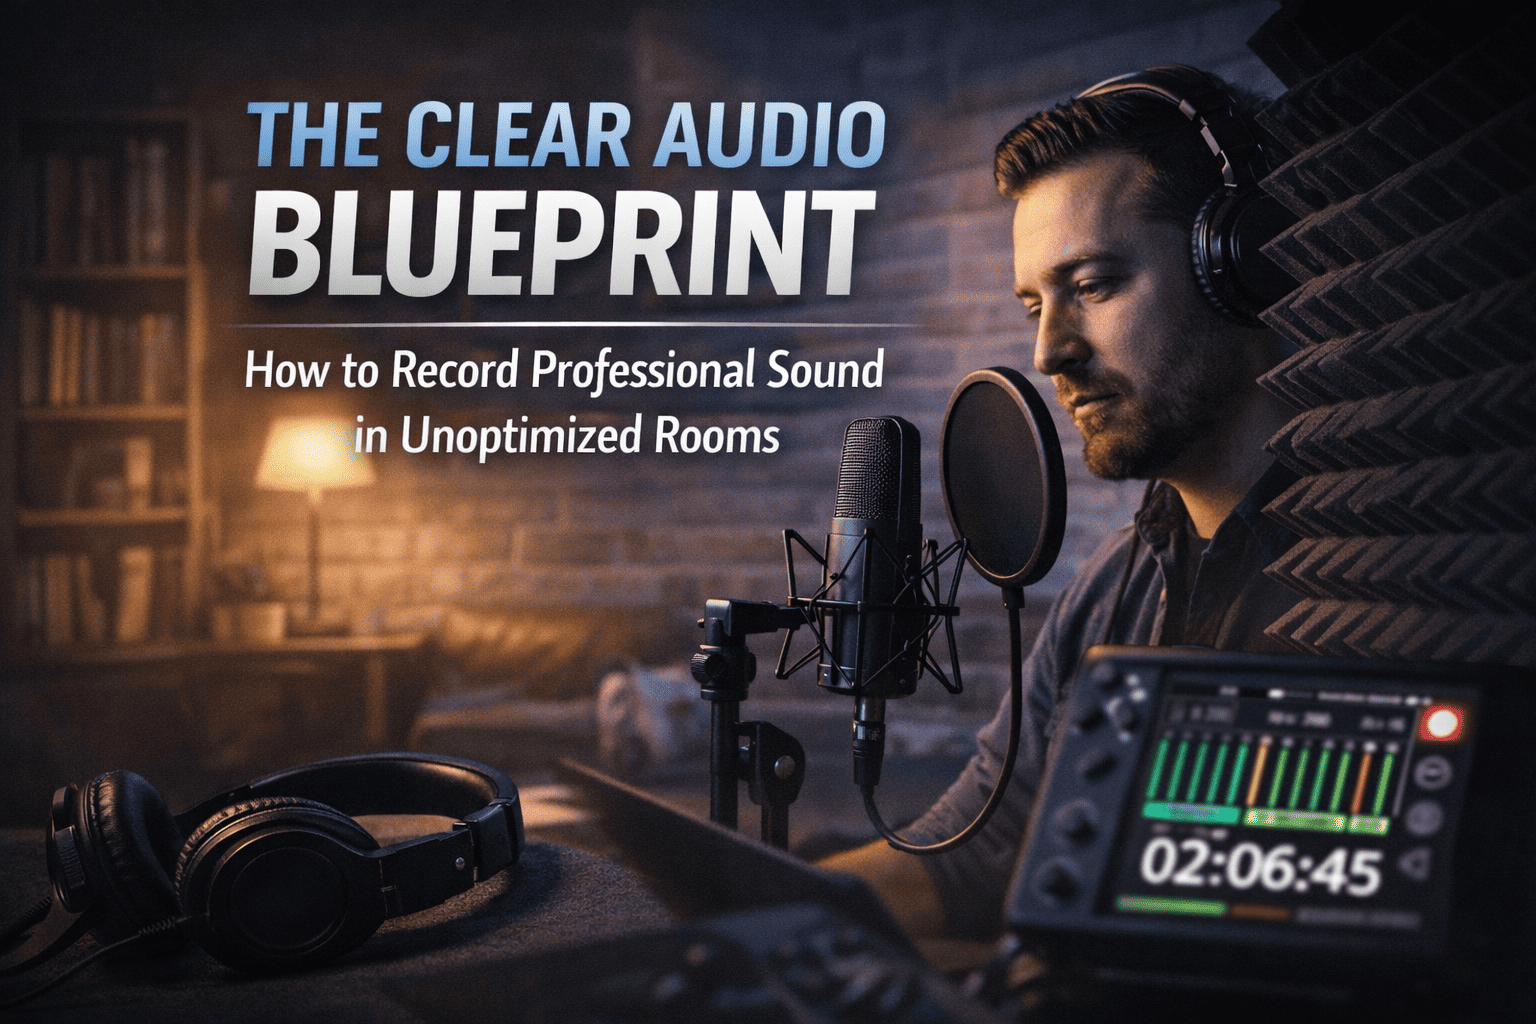
Phase 3: Microphone Placement & Technique
Even a cheap microphone can sound professional if you understand The Inverse Square Law.
1. Proximity is Power
The closer the microphone is to your mouth, the less "room sound" it picks up.
- The Ideal Distance: For most condenser or dynamic microphones, stay 4 to 6 inches (about one hand-span) away from the capsule.
- The "Plosive" Fix: Use a pop filter or angle the microphone slightly (15 degrees) away from your mouth to avoid "P" and "B" air blasts from hitting the sensor.
2. Gain Staging (The Secret to No Hiss)
Never set your recording volume (Gain) to 100%. This forces the microphone's internal preamp to work too hard, adding "electronic hiss."
- The Workflow: Set your gain so your voice peaks around -12dB to -10dB on your digital meters.
- Why? This provides "Headroom." If you get excited and shout, the audio won't "Clip" (distort).
Phase 4: Post-Processing Workflow (The "Radio Voice" System)
Once you have a clean recording, follow these four steps in your editing software to achieve that "deep, professional" tone.
- Noise Reduction (Subtracting the Rest): Apply a light "Noise Gate" or "De-noise" effect. Warning: Do not overdo it. If the audio sounds "watery" or "robotic," you have applied too much reduction.
- Equalization (EQ - The Sculptor):
- High Pass Filter: Cut everything below 80Hz to remove low-end "rumble."
- The "Presence" Boost: Add a subtle 2-3dB boost around 3kHz to 5kHz for clarity.
- Compression (The Consistency Maker): A compressor automatically balances loud and quiet parts. Ratio: 3:1 is a safe starting point.
- Normalization (The Final Level): Normalize the final clip to -3dB to ensure it is loud enough for social media platforms.