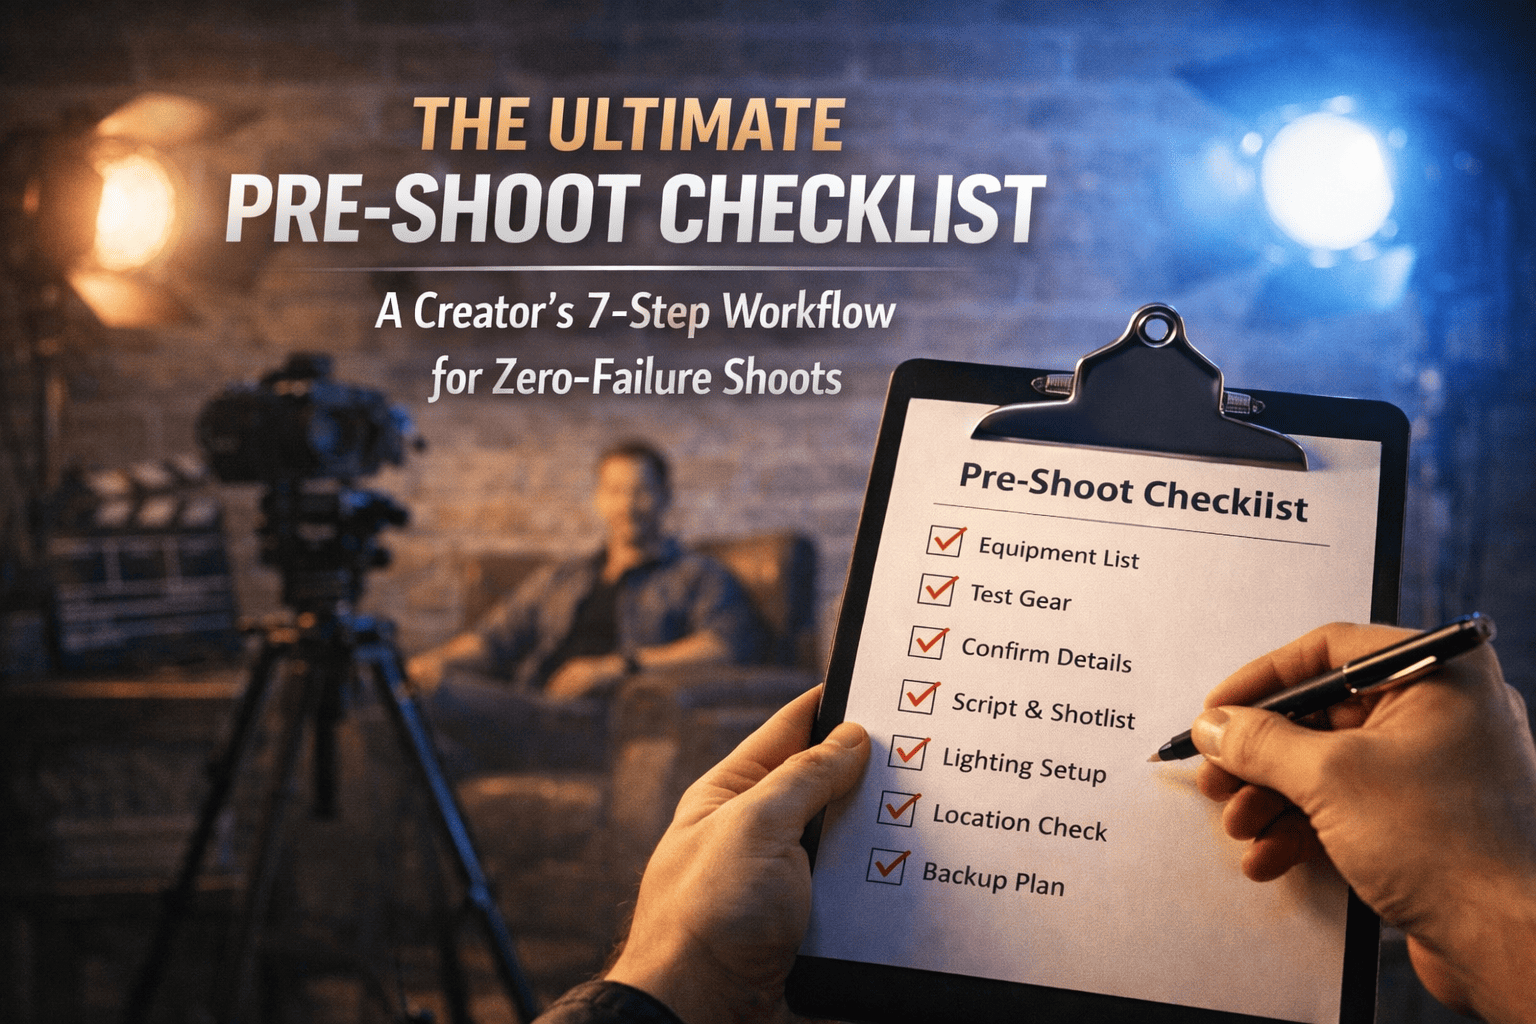
The Ultimate Pre-Shoot Checklist: A Creator’s 7-Step Workflow for Zero-Failure Shoots
This manual is your operational guide to transitioning from a hobbyist to a professional filmmaker by eliminating "on-set friction." Follow these steps in order to ensure a zero-failure shoot.
Step 1: The "Hook-Body-Payoff" Script Audit
Before touching a camera, you must audit your story. A video without a plan is just expensive noise.
- The Hook (0–5 seconds): Does the first sentence visual promise a specific result?
- The Body (Value Delivery): Break your content into 3–5 "knowledge blocks."
- The Payoff: What is the final "transformation" the viewer achieves?
- Action: Print your script or load it into a teleprompter app to avoid "umm" and "uhh" during recording.
Step 2: Technical Gear Audit (The Night Before)
Gear failure is the #1 cause of lost shoot days. Perform a "Live Test" 24 hours prior.
- Sensor Check: Take a test shot at high f-stop (f/16) against a white wall. Look for dust spots that need cleaning.
- Power Management: Label batteries "Full" and "Empty." Never mix them in your bag.
- Media Clearance: Format all SD cards in-camera. Verify you have at least 2x the storage required for your estimated shoot time.
Step 3: The 3-Point Lighting Layout
Do not rely on "natural light" unless you are shooting outdoors. Control your environment using this specific geometry:
- Key Light: 45° from the subject, slightly above eye level.
- Fill Light: Opposite the key, reduced to 25% intensity to soften shadows.
- Backlight (Hair Light): Placed behind the subject to create a "halo" effect, separating them from the background.
Step 4: Audio Environment Calibration
Audio is 50% of the viewing experience. If the audio is bad, the video is unwatchable.
- The Clap Test: Clap loudly in the room. If you hear a "ring" or echo, add blankets or acoustic foam to the corners.
- Gain Staging: Set your microphone gain so your levels peak at -12dB. This provides "headroom" so your voice doesn't clip if you get loud.
- Noise Floor: Turn off AC units, fans, and refrigerators.
Step 5: Camera Settings Optimization
Set your camera to "Manual" to ensure consistency across clips.
- Shutter Speed: Use the 180-degree rule. If shooting at 24fps, set shutter to 1/50. If 60fps, set to 1/120.
- White Balance: Never use "Auto." Set a Kelvin value (e.g., 5600K for daylight) so your skin tones don't shift during the shoot.
- Focus: Use "Eye-Autofocus" or set manual focus and do not move the subject's chair.
Step 6: The "Safety Shot" & B-Roll Map
Never leave a set with only one angle.
- A-Roll: Your main "talking head" or primary action.
- B-Roll: Close-ups of hands, gear, or environment.
- Rule of Three: For every 1 minute of A-Roll, aim for 3 unique B-Roll shots to keep the edit fast-paced.
Step 7: The Data Integrity Protocol
The shoot isn't over until the data is safe.
- Ingest: Move footage to a primary SSD immediately.
- Backup: Create a "Mirror Copy" on a second drive.
- Verification: Play back the first 5 seconds and last 5 seconds of every clip to ensure no file corruption occurred.
##Filmmaking #ContentCreator #PreProduction #FilmFreebies