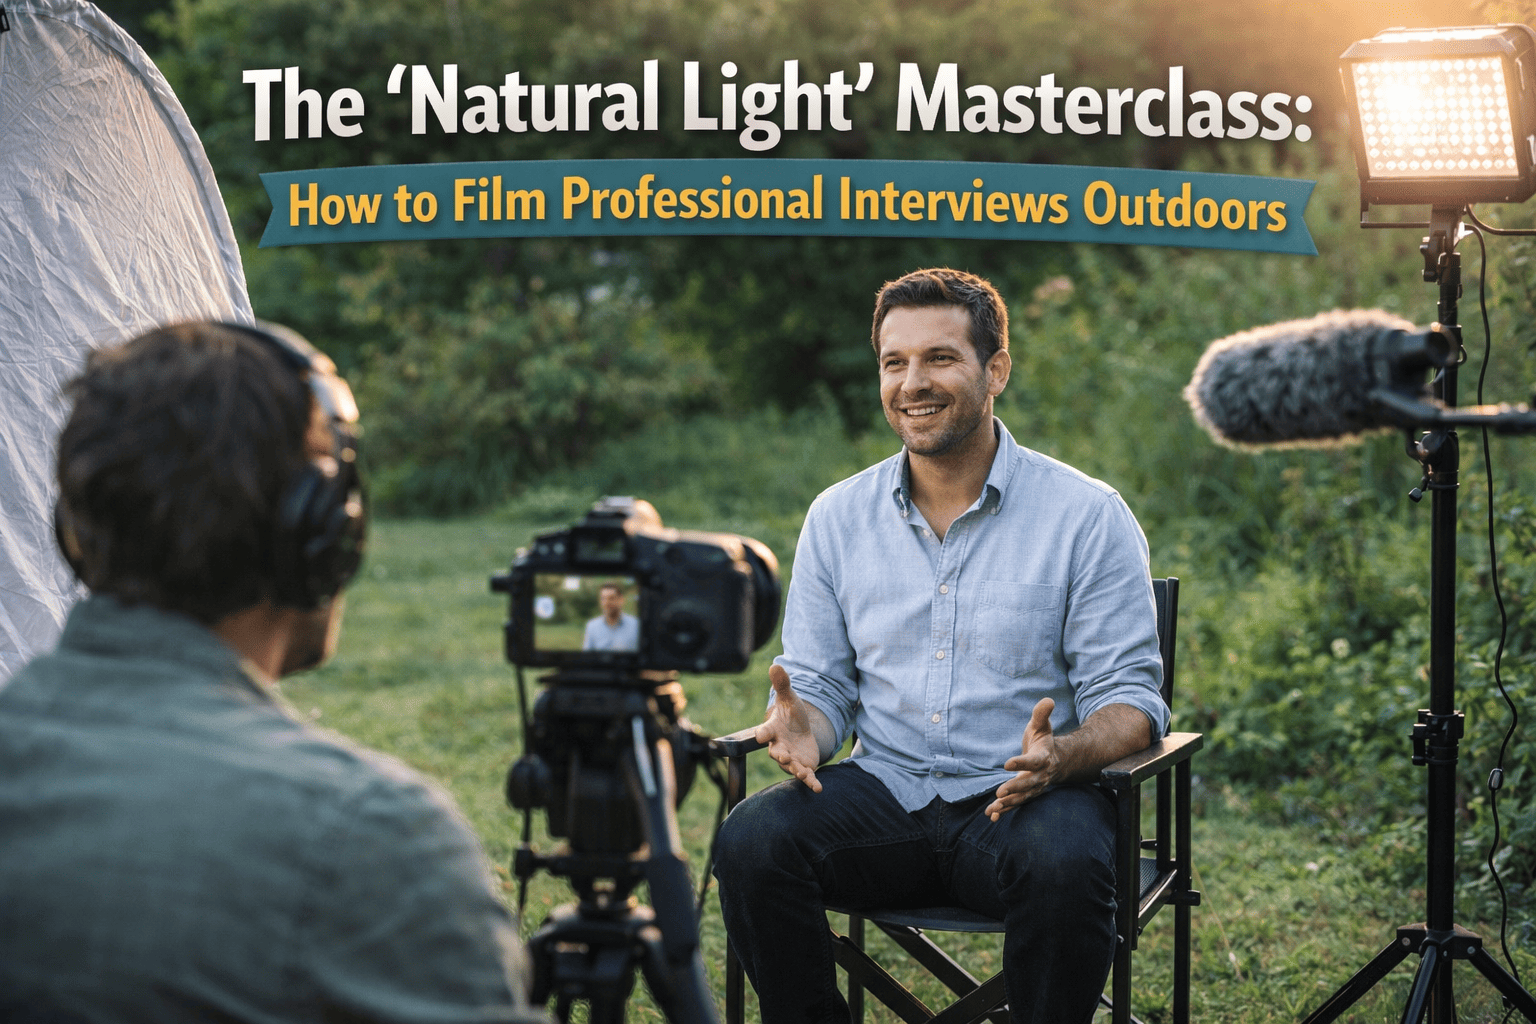
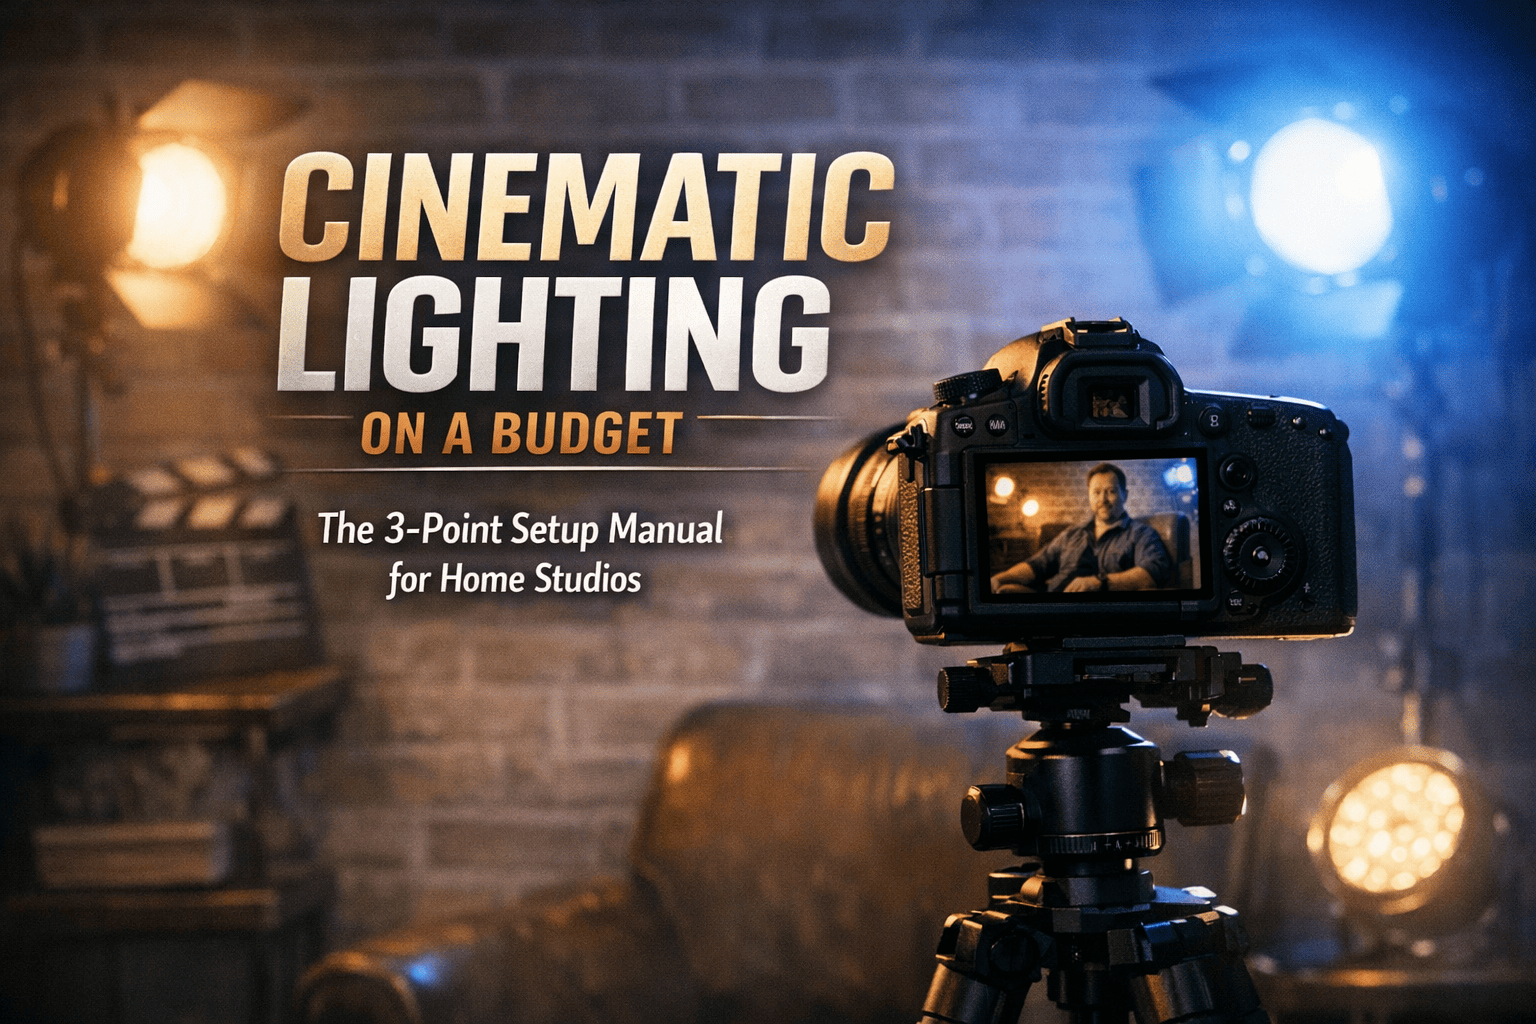
Cinematic Lighting on a Budget: The 3-Point Setup Manual for Home Studios
Lighting is the "language" of cinematography. While a high-end camera captures more data, lighting creates the mood, depth, and professionalism that keeps viewers watching. This manual breaks down the physics and the process of the industry-standard 3-Point Lighting system, adapted for home studios and budget constraints.
Phase 1: The Physics of Lighting (Foundations)
Before turning on a lamp, you must understand the two types of light:
- Hard Light: Small light sources (like a bare bulb) create sharp, dark shadows. This is often "unflattering" for skin but great for high-drama scenes.
- Soft Light: Large light sources (like a window or a light behind a shower curtain) wrap around the subject, hiding skin imperfections and creating a "gentle" professional look.
- The Golden Rule: The larger the light source relative to the subject, the softer the light.
Phase 2: The 3-Point Workflow
This system creates a three-dimensional look on a two-dimensional screen.
1. The Key Light (The Foundation)
The Key Light is your primary source. It defines the "look" of your video.
- Placement: Position this at a 45-degree angle from the subject’s nose and slightly above eye level.
- The Goal: Create a "Rembrandt Triangle"—a small triangle of light on the cheek opposite the light source.
- Budget Hack: If you don't have a softbox, point a construction work light at a white wall or use a white bedsheet as a "bounce" to create a massive, soft source.
2. The Fill Light (The Shadow Controller)
The Fill Light sits on the opposite side of the Key Light. Its job is not to eliminate shadows, but to "lift" them so the viewer can still see detail.
- Placement: Opposite the Key Light at a 45-degree angle.
- Intensity: It should be significantly dimmer than the Key (usually 25% to 50% of the Key's brightness).
- Budget Hack: Use a piece of white cardboard or a car sunshade (silver side) to reflect the light from your Key Light back onto the subject’s face.
3. The Backlight / Hair Light (The Professional Edge)
This is the secret to the "cinematic" look. It separates the subject from the background.
- Placement: Behind the subject, high up, and aimed at the back of the head/shoulders. Ensure the light itself is not visible in the frame.
- The Goal: Create a thin "rim" of light that outlines the subject.
- Budget Hack: A simple desk lamp with a "Daylight" LED bulb works perfectly here.
Phase 3: Advanced Optimization (The "Pro" Secrets)
Managing Color Temperature (The Kelvin Scale)
Never mix "Warm" (Orange) lights with "Cool" (Blue) lights unless it is intentional.
- Daylight: Approximately 5600K.
- Tungsten (Indoor): Approximately 3200K.
- The Manual Step: Lock your camera's White Balance to a specific Kelvin number. Do not use "Auto," or your skin tones will shift every time you move.
Practical Lighting (Background Texture)
"Practicals" are lights visible in the scene, like a desk lamp, a neon sign, or fairy lights in the background.
- Why? They add "Depth of Field" and make the room feel like a real space rather than a flat studio.
- The Rule: Keep practicals dimmer than your Key Light so they don't distract from the subject's face.
Controlling "Spill"
Budget lights often throw light everywhere, making the scene look "washed out."
- Black Wrap/Cinefoil: Use heavy-duty aluminum foil painted black to create "barn doors" for your lights. This lets you "cut" the light so it only hits the subject and not the wall behind them.
Phase 4: Step-by-Step Execution Checklist
Follow this order for every shoot to ensure consistency:
- Kill All Ambient Light: Close the curtains and turn off overhead room lights. Start in total darkness.
- Set the Key Light: Turn it on and adjust until you see the Rembrandt Triangle.
- Add the Backlight: Turn it on to see the separation from the background.
- Evaluate the Fill: Only add the fill light if the shadows on the dark side of the face are too "crushed" (black).
- Check for "Hot Spots": Look for oily skin reflections. Use a "diffuser" (even a tissue over the light) to soften those spots.
- The "Glasses" Test: If the subject wears glasses, raise the lights higher to move the reflection out of the lenses.