The Natural Light Masterclass: How to Film Professional Interviews Outdoors
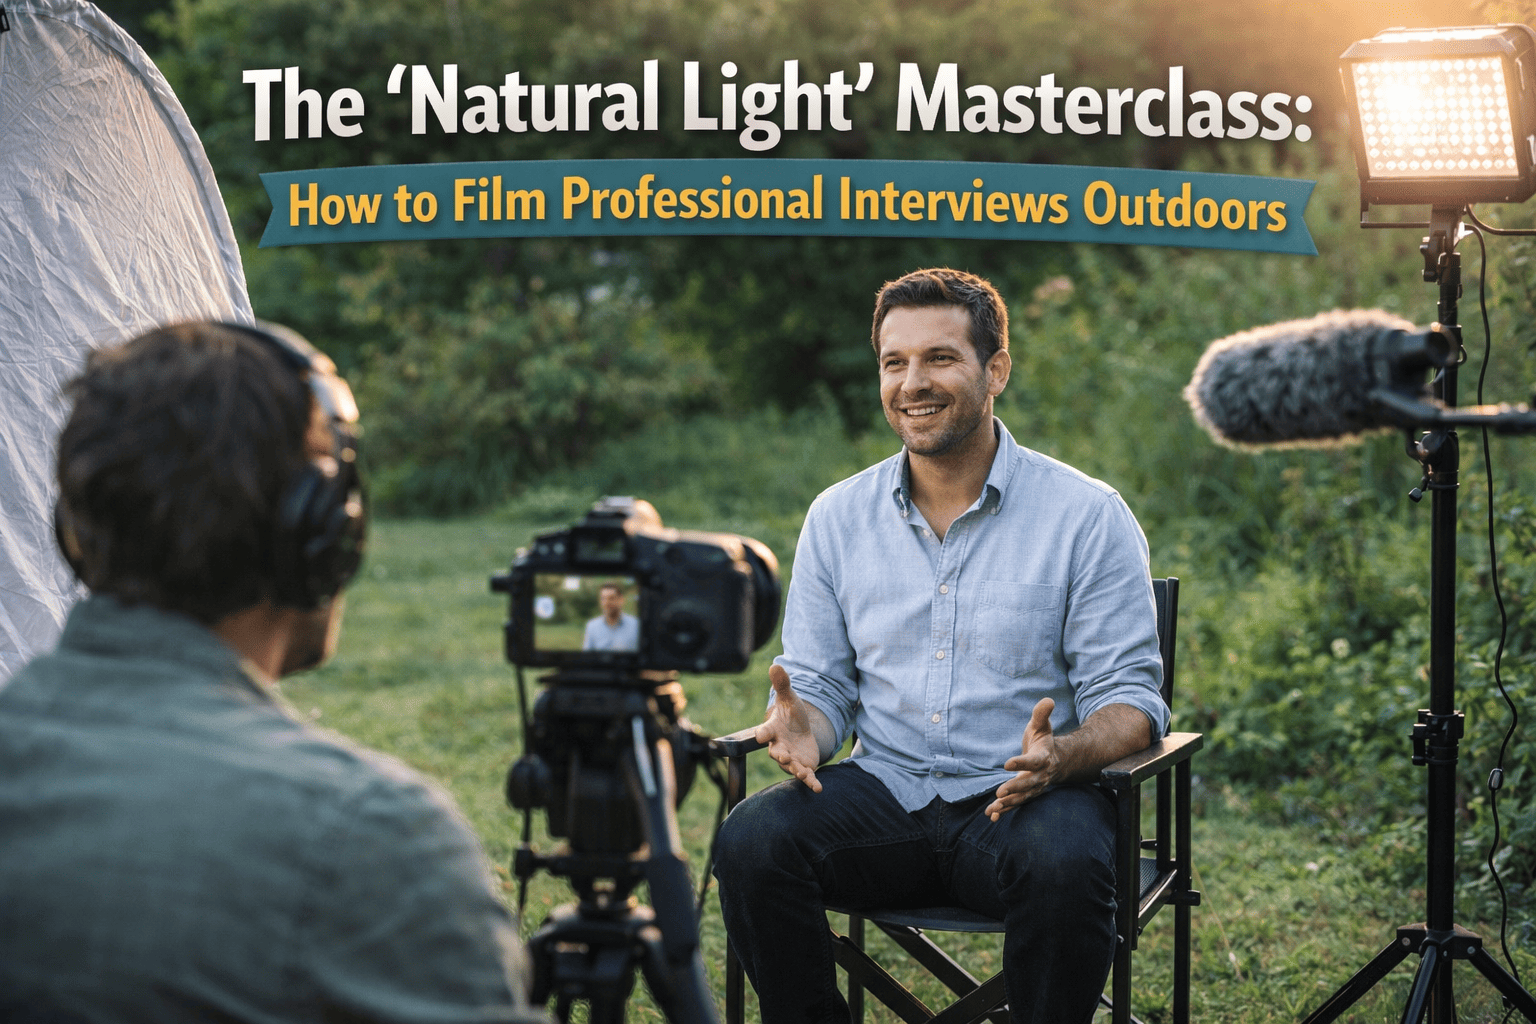
In outdoor cinematography, you don't "create" light; you shape it. To get a professional look, you must move away from "pointing and shooting" and toward a systematic control of the environment.
Phase 1: The Physics of the Golden Hour
The quality of natural light changes based on the angle of the sun. Professional filmmakers schedule their "Hero Shots" around specific windows of time.
- The Golden Hour (The Key Window): Occurs during the first hour after sunrise and the last hour before sunset. The low sun acts as a massive, natural softbox, creating a warm glow.
- The Blue Hour (The Mood Window): Occurs 20–30 minutes after sunset. There are no direct shadows, but you will need a "Fast Lens" (f/1.8 or f/2.8) as light levels drop.
Phase 2: Shaping Light Without Electricity
If you must shoot at mid-day when the sun is harsh, use this Modification Workflow:
Step 1: The "Backlit" Strategy (Positioning)
- The Action: Position the sun behind the subject, slightly to one side.
- The Result: The sun becomes a "Rim Light," creating a glow that separates the subject from the background and prevents squinting.
Step 2: The Scrim (Diffusing the Key)
- The Action: Place a semi-translucent fabric (scrim) between the sun and the subject.
- The Physics: It transforms harsh light into a "Large Surface" source, removing dark shadows under the eyes.
Step 3: The Bounce (Adding the Fill)
- The Action: Place a white reflector on the opposite side of the sun to reflect light back into the subject’s face.
- The Goal: Create a "Catchlight" in the eyes to make the subject look engaged.
Phase 3: Managing the Outdoor Environment
Outdoors introduces variables that require a specific SOP for Interferences.
- Audio Integrity (The Wind Workflow): Use a "Deadcat" (windjammer) on your mic. Keep the microphone 6–10 inches from the subject to maintain a high Signal-to-Noise ratio.
- Exposure Control (The ND Filter): Use a Variable ND Filter (lens "sunglasses"). This allows you to keep an f/1.8 aperture and 1/50th shutter speed even in bright mid-day sun.
Phase 4: Composition & Background Selection
- Depth of Field: Place at least 20 feet of space between the subject and the background to avoid a "flat" look.
- Avoid "Hot Spots": Ensure there aren't patches of bright sunlight in the background that distract from the shaded subject.
- Color Contrast: Use complementary colors (e.g., a subject in blue against a warm brick or dry grass background) to make the image "pop."
##OutdoorShoot #Cinematography #FilmmakingTips #FilmFreebies